Cài thành công 22.04 How to Install phpMyAdmin with Nginx on Ubuntu (ok)
https://www.itzgeek.com/how-tos/linux/ubuntu-how-tos/install-phpmyadmin-with-nginx-on-ubuntu-22-04.html
Last updated
https://www.itzgeek.com/how-tos/linux/ubuntu-how-tos/install-phpmyadmin-with-nginx-on-ubuntu-22-04.html
Last updated
By Raj On May 22, 2022 0 Share
phpMyAdmin is a free web-based management tool for managing the MySQL and MariaDB database servers. Web hosting companies widely use it to enable users to manage databases.
phpMyAdmin helps the system administrator perform database activities such as creating, deleting, and querying databases, tables, columns, etc.
This post will show how to install phpMyAdmin with Nginx on Ubuntu 22.04.
Before installing phpMyAdmin, install MariaDB or MySQL database server and an Nginx web server.
First, follow the Nginx installation procedure to install the Nginx server web server.
READ: Install LEMP Stack on Ubuntu 22.04
Then, install MariaDB or MySQL server by following the below tutorials for preparing your system for phpMyAdmin.
READ: Install MariaDB on Ubuntu 22.04 / Install MySQL on Ubuntu 22.04
Next, install PHP and required extensions for phpMyAdmin.
The phpMyAdmin package is available in the Ubuntu repository. But, the package available in it is a bit older version. So, we will download the latest version of phpMyAdmin from the official website.
Then, extract phpMyAdmin using the tar command.
And then move the phpMyAdmin to the desired location.
First, rename the phpMyAdmin’s sample configuration file for configuring the phpMyAdmin.
Then, edit the configuration file to make a few changes.
Generate a blowfish secret and update the below line with the generated secret in the configuration file.
You may also need to uncomment the phpMyAdmin storage settings.
phpMyAdmin requires database tables. So, import the create_tables.sql comes with the phpMyAdmin archive package to create tables for phpMyAdmin.
Next, log in to MariaDB.
Then, add the user and grant permission to phpMyAdmin’s database.
Create a server block configuration file for phpMyAdmin under the /etc/nginx/conf.d directory. If you have installed Nginx from the Ubuntu repository, you need to create the file under /etc/nginx/sites-available directory.
Use the following server block for phpMyAdmin. You may change the domain name (server_name) as per your requirement (use only the domain name, not the IP address).
Next, create a temporary directory for phpMyAdmin and then change the permission.
Then, set the ownership of the phpMyAdmin directory.
Finally, restart the Nginx and PHP services.
The MariaDB root user can log in locally via Unix socket by default. So, you will need to create a database and a user to log in to phpMyAdmin.
Alternatively, you can disable Unix socket authentication and enable native password login.
Now, access the phpMyAdmin via browser by going to the phpMyAdmin’s URL.
http://fully-qualified-domain-name
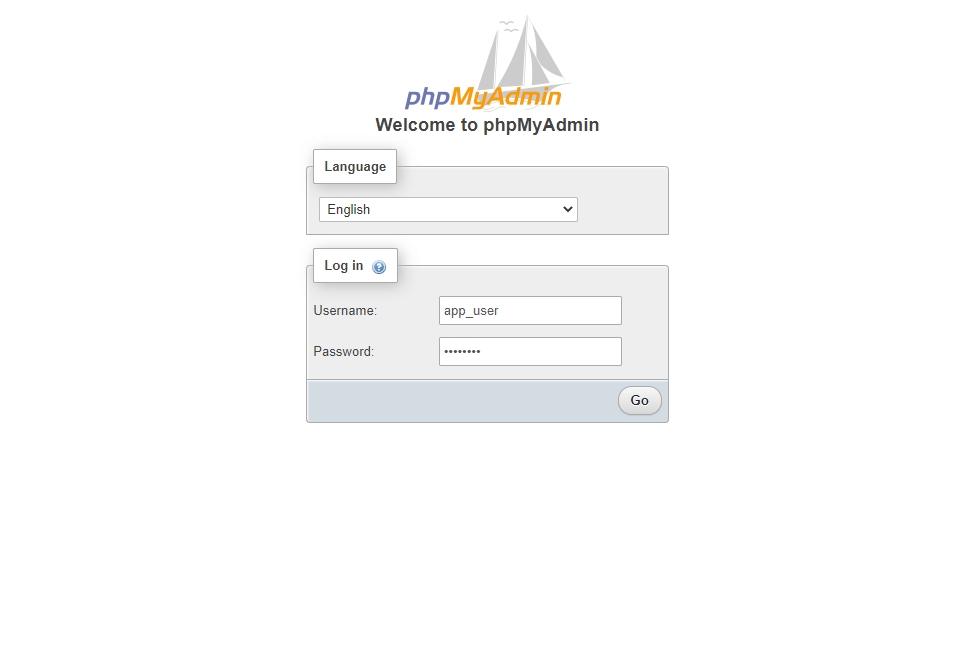
Log in with the database user.
Login to phpMyAdmin
You will get the home page where you can manage databases.
I hope this post helped you install phpMyAdmin with Nginx on Ubuntu 22.04. Share your feedback and issues you have encountered while setting this up in the comments section.


