
How to install Nginx + php + MySQL on WSL Windows 10 (ok)
https://www.how2shout.com/how-to/install-nginx-php-mysql-wsl-windows-10.html
How to install Nginx + php + MySQL on WSL Windows 10
Rajkumar Maurya August 15, 2019 HOW TO Last Updated: August 15, 2019
Although Nginx is available for Windows 10/8/7, however, to really understand, experience, build or test web application around, I recommend to use it on Linux. And the Windows 10 WSL is the best option to run Linux+Nginx+PHP+MySQL stack to get a complete Linux based web server without really installing a separate Linux distro.
Thus, let’s see how to install Linux+Nginx+PHP+MySQL stack on Windows 10 WSL (Windows Subsystem for Linux).
What is Nginx?
Nginx (engine x) is a high-performance HTTP and reverse proxy web server that also provides IMAP/pop3/smtp services.
It is distributed under a BSD-like agreement and characterized by less memory and strong concurrent power. Nginx can be compiled and run on most Unix & Linux os and has a Windows port too.
In the case of high concurrency, Nginx is a good alternative to the Apache service: Nginx is one of the software platforms that bosses web hosting business supporting responses up to 50 000 concurrent connections thanks to Nginx for choosing Epoll and Kqueue as the development model.
The Nginx code is written entirely from the c language and has been ported to many architectures and operating systems including Linux, FreeBSD, Solaris, mac os x, AIX and Microsoft windows.
Nginx has its own library of functions, and in addition to zlib, PCRE, and OpenSSL, standard modules only use system C library functions. Also, these third-party libraries may not be used if you do not need or consider potential authorization conflicts.
Step 1: Install Windows 10 WSL for Nginx + php
If you don’t have Windows 10 WSL (Windows Subsystem for Linux) enabled on your system yet, then simply go to the search section of Windows 10 and type “Turn Windows feature on or off” after that scroll and look for Windows subsystem for Linux option, check it and click on the OK button. This will enable it on your system. For step by step guide see this: How to enable WSL on Windows 10.
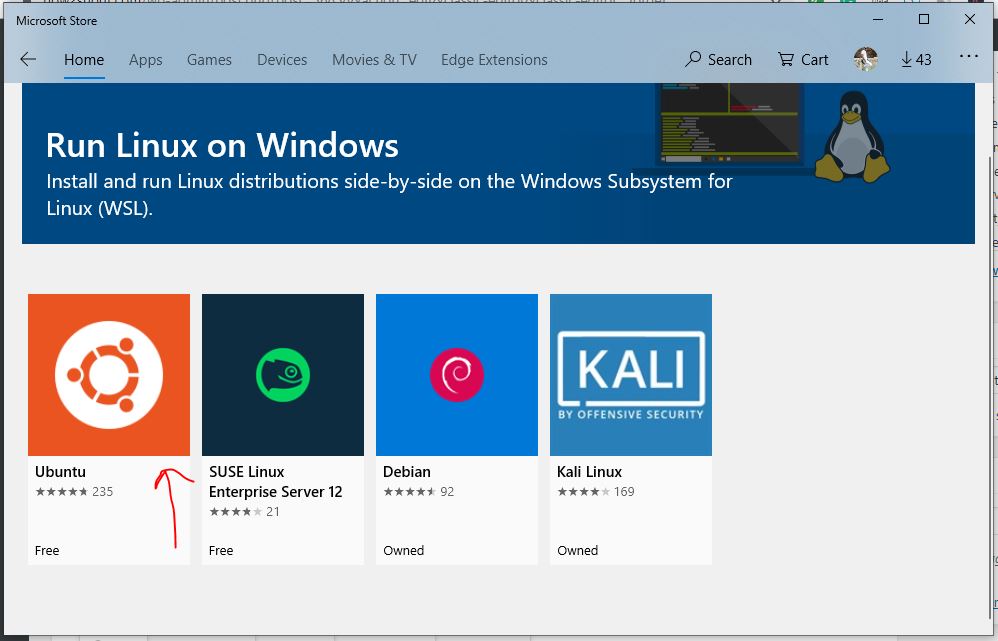
Step 2: Choose Linux Distro App for WIndows 10 WSL
Once you enabled WSL on your system, the next step is to procure some Linux distro app from Microsoft store. Here we are installing and using Ubuntu app on Windows 10 WSL. Just search for Microsoft store on your Windows 10 system and then in the search box type: Run Linux on Windows. The instructions of installing Nginx stack will be the same for Debian and Kali Linux WSL images.
And select Ubuntu and then Get it.
Step 3: Run Ubuntu to install Nginx + php on Windows 10 WSL
Once you open the Linux Ubuntu 18.04 WSL on your Windows 10 system it will exactly look and behave like any other Linux command terminal.
The first thing which we do is to update the Ubuntu Wsl, use the below-given command:
Second is running of commands to install Nginx on Windows 10 Ubuntu WSL:
Step 4: Start Nginx web server service on WSL
We have successfully installed the Nginx on our Windows 10 WSL Linux app, now the thing which we have to do is starting off its service. For that use the below command
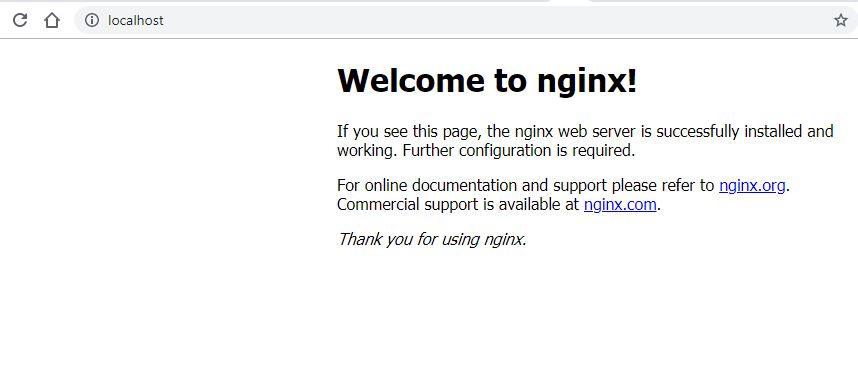
Step 5: Test Nginx Webserver
Open your Windows 10 browser and type http:localhost:80
It will show the welcome screen of this web server as shown below in the screenshot.
Step 6: Installing PHP for Nginx on Windows 10 WSL
The Webserver is ready now we have to install and configure PHP to use with Nginx open-source web server. Here we install modules PHP-FPM and PHP-MySQL to use PHP with both Nginx and MySQL.
Add repo:
Check latest PHP version available to install
According to the available version, install the following PHP modules, in our case the latest version was php7.2
Check the installed version
Output:
Step 7: Start PHP-fpm service
Here is the command to start the installed PHP-fpm service
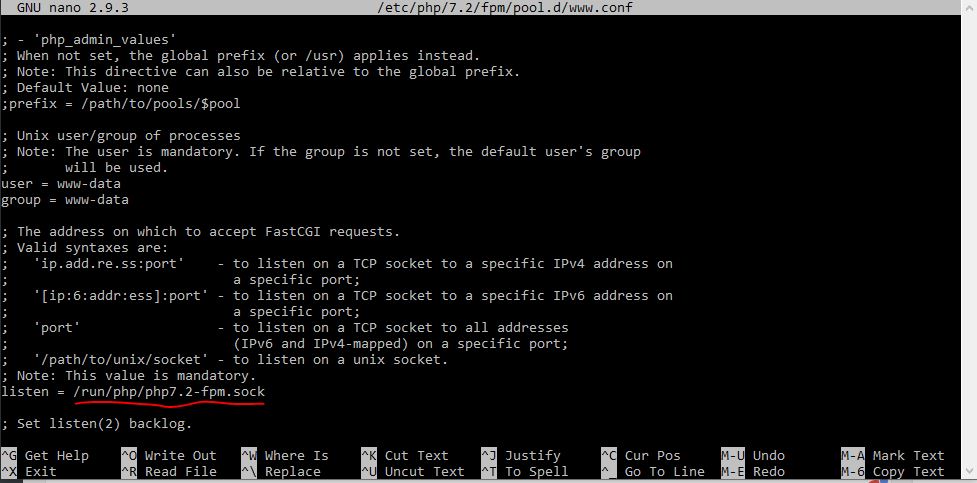
Step 8: Configure PHP-fpm for Nginx on Windows 10 WSL
We have to configure PHP-fpm for Nginx otherwise PHP would not be able to contact Nginx and it through an error such as:
Thus, open the php-fpm configuration file
In the file find the php-fpm listening socket path
In our case, it was like given below and might be same in yours too.
Copy it.
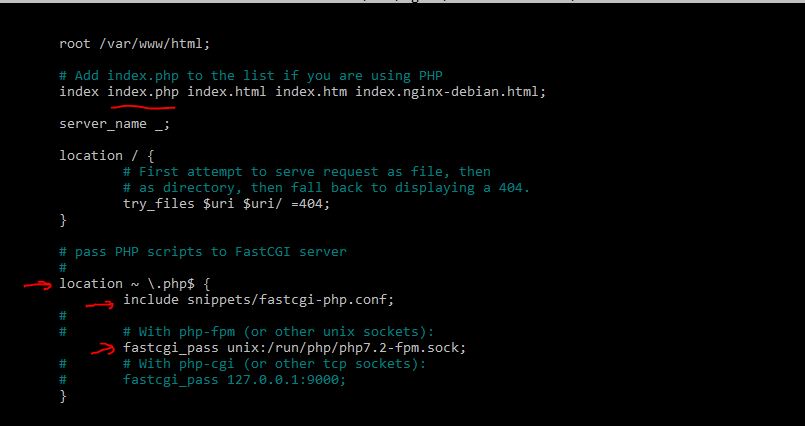
Now, open Nginx Default site configuration
Here find:
If we want to use PHP with Nginx, first we have to add index.php in the Nginx configuration file…
# Add index.php to the list if you are using PHP
# Add index.php to the list if you are using PHP
Now find the below lines and do editing as mentioned below:
Remove the # or uncomment the following things which are in yellow colour and also change the socket path from
/var/run/php/php7.0-fpm.sock; to /run/php/php7.2-fpm.sock;
After all the changes press CTRL+X and type Y and then press the Enter button to save the changes.
Restart Nginx and PHP-FPM services
Step 9: Create a test PHP file
Create an index.php file
Open it:
And add the following lines in that ]
Again press CTRL+X and type Y then press the enter button to save it
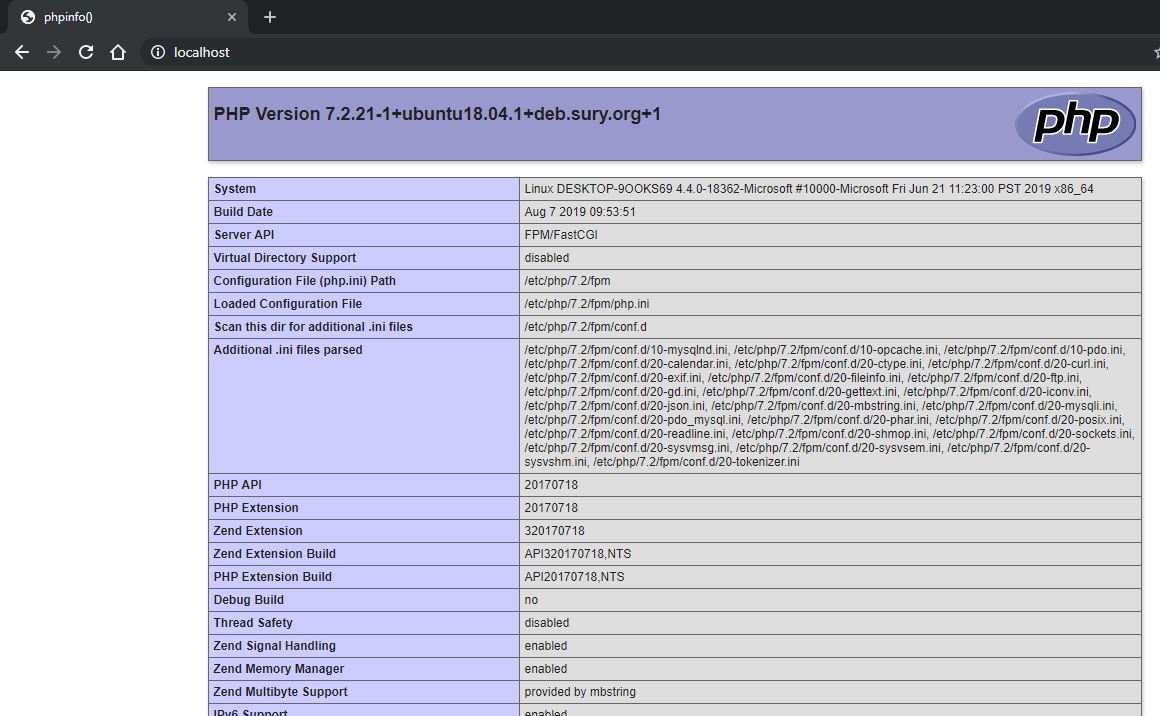
Step 10: Access the PHP info on Nginx WSL Windows 10 webserver
Finally, again open the http:localhost or http:ip_address_of_your_system
And this type it will show the PHP info page
Step 11: Install MySQL with Nginx on Windows 10 (optional)
If you also want to install MySQL on Windows WSL along with Nginx and PHP then here is the command:
To secure MySQL the command is:
In this way, we can set up Linux, Nginx, PHP & MySQL on Windows WSL (Windows Subsystem for Linux)
Last updated


