How To Install Webmin And Secure With Nginx On Ubuntu 20.04 LTS (ok) qua hay
https://ubuntu.tutorials24x7.com/blog/how-to-install-webmin-and-secure-with-nginx-on-ubuntu-20-04-lts
How To Install Webmin And Secure With Nginx On Ubuntu 20.04 LTS
It provides all the steps required to install the gui-based Unix administration interface i.e. Webmin on Ubuntu 20.04 LTS and also secure it by configuring the Server Block (Virtual Host) with reverse proxy on Nginx. It also provides the steps to install Let's Encrypt SSL certificate and access Webmin from HTTPS only.
June 17, 2020
Webmin is one of the popular web-based system administration interfaces for Unix. We can manage the system services using the appropriate Webmin modules. The popular and official modules available for Webmin includes cron, bind8, apache, mysql, dovecot, postfix, postgrey, fail2ban, and syslog. We can install these modules based on the actual needs and manage the associated services from the Webmin itself without using the shell. Webmin makes it easy to administer the system using the graphical interface. The most recent version of Webmin while writing this tutorial is 1.941. We will install the same as part of this tutorial.
The tutorial provides the steps required to install Webmin on the popular Linux distribution Ubuntu and access it via Nginx by configuring it as a reverse proxy. In this way, we will install Webmin and access it via Nginx over the standard HTTP/HTTPS ports. It provides all the steps required to install and use Webmin on Ubuntu 20.04 LTS. The steps should be similar for other Linux systems and Ubuntu versions.
You may also follow the relevant tutorials including How To Install And Configure Nginx on Ubuntu 20.04 LTS, Configure Virtual Host Or Server Block On Nginx, and How To Install Let's Encrypt For Nginx On Ubuntu.
Prerequisites
You must meet the below-listed prerequisites on the server to continue with this tutorial.
Ubuntu Server - This tutorial assumes that you have already installed Ubuntu 20.04 LTS desktop or server version either for local or production usage. You can follow Install Ubuntu 20.04 LTS Desktop, Install Ubuntu 20.04 LTS On Windows Using VMware, and Spin Up Ubuntu 20.04 LTS Server On Amazon EC2 to install Ubuntu 20.04 LTS. It also assumes that you have either root privileges or a regular user with sudo privileges.
Nginx Web Server - It assumes that the Nginx is already installed on the system and it's configured properly to access it using the domain. You can also follow How To Install And Configure Nginx on Ubuntu 20.04 LTS to install the Nginx Web Server.
Domain - A valid domain properly configured at your domain registrar pointing to your server. I have used example.com in this tutorial for reference. Make sure to replace it with your own domain.
Firewall - Ports 80 and 443 are open to accept connections.
Add Virtual Host (Server Block)
In this section, we will add the virtual host and enable it to access the application using the domain. You may skip this step in case you already have an active website or application accessible from the browser using the domain name.
Add the Virtual Host to Nginx Web Server and update it as shown below. I have used the nano editor for demonstration purposes. You can use any editor of your choice. Also, replace example.com with the actual domain. Create the directory /var/www/example.com/html to store the website or application files.
Now update the configuration to configure your domain and the system path having site files. The configuration should look like the one as shown below.
Use the below-mentioned commands to enable or disable the site configuration.
Apply the configuration using the below-mentioned commands.
Now add the index.html file having content as shown below.
If your domain is correctly pointing to your system, you must be able to access it from the browser by navigating to http://www.example.com. It should show the output of our simple HTML file - Welcome to My Domain.
Install Certbot
In this section, we will install the most recent version of Certbot for Nginx Web Server on Ubuntu 20.04 LTS from the Ubuntu repositories. Now refresh the packages index using the command as shown below.
We can install the Certbot using the command as shown below.
We can confirm the installation by checking the Certbot version as shown below.
This completes the installation of Certbot for Nginx Web Server on Ubuntu 20.04 LTS.
Install SSL Certificate and Secure Virtual Host
In this section, we will install the SSL certificate and secure the server block. It can be done using the command as shown below.
This completes the installation of SSL certificate for example.com. It updates the virtual host at /etc/nginx/sites-available/example.com and enable it to enforce the strict HTTPS protocol. Now if you try to open the URL - http://www.example.com/index.html, it must redirect you to https://www.example.com/index.html. Make sure that your firewall allows communication on port 443.
This is how we can secure an entire website or application using the SSL certificate for secure communication over the Nginx web server and the clients(Browser etc). Now if you again open the virtual host file, you must see that Certbot has removed the listen directive for port 80 and added the SSL certificate lines at the bottom of the Server Block.
The Certbot client also updates the virtual host and redirect all the HTTP requests to HTTPS as part of the SSL installation process. You can check it's content as shown below.
Auto-Renewal
The SSL certificates issued by Let's Encrypt expires after 90 days from the date of installation. The Certbot installed by us checks for renewal twice a day using the system timer. The auto-renewal feature on non systemd timer is provided by a cron script placed in /etc/cron.d. It renews the certificates that are about to expire in the next 30 days.
You can also test the renewal process by simulating the renewal command as shown below.
The above command will show the logs having messages to get an idea about how it will be run for actual renewal. We can also run the command manually to renew the certificates that are about to expire in the next 30 days.
The Nginx service must be reloaded after certificate renewal. We can do it by appending --renew-hook "systemctl reload nginx" to the /etc/cron.d/certbot file as shown below.
Now again do a dry run by simulating the renewal command as shown below.
It should run successfully to ensure that the certificates will be automatically renewed before the expiry.
Install Webmin
In this step, we will install Webmin using the official repository on both Debian and non-Debian based systems. We can install Webmin using the Webmin APT repository on Ubuntu as shown below. I have used the nano editor for demonstration purposes. You can use any editor of your choice.
Save the file using the Nano text editor by pressing CTRL + O, then press Enter to write the file. Press CTRL + X to close the editor.
Install the GPG key as shown below. We need the GPG key to trust the repository.
Now we can install the most recent version of Webmin as shown below.
Test Webmin
You can test the Webmin in case port 10000 is open, else simply skip this section and continue with the next section.
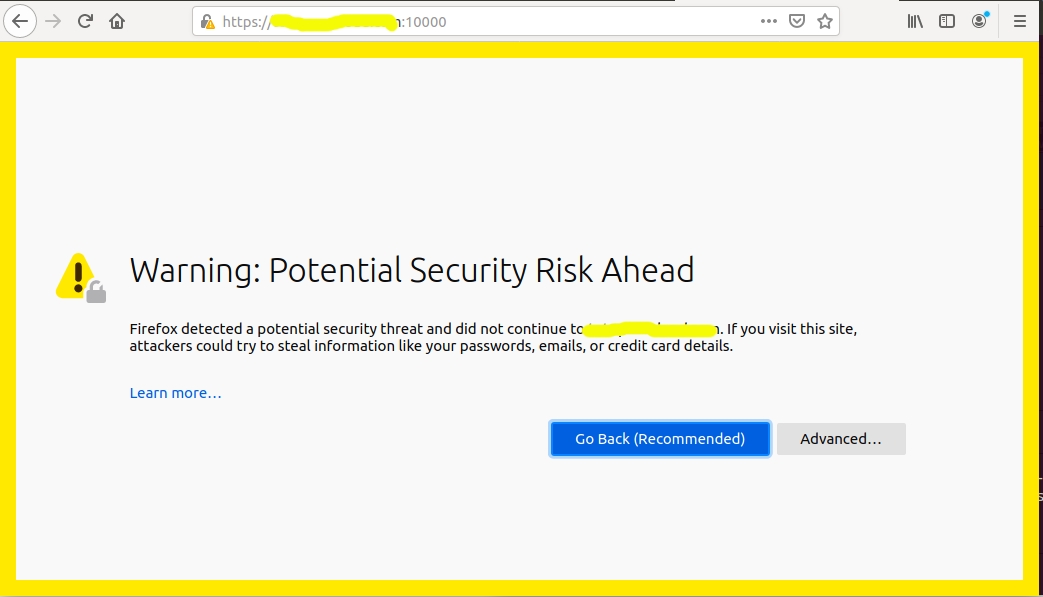
We can directly access the Webmin using the URL - https://xx.xx.xx.xx:10000 in case port 10000 is opened. Make sure to replace the xx.xx.xx.xx with your actual IP. It will show the security risk warning as shown in Fig 1.
Fig 1
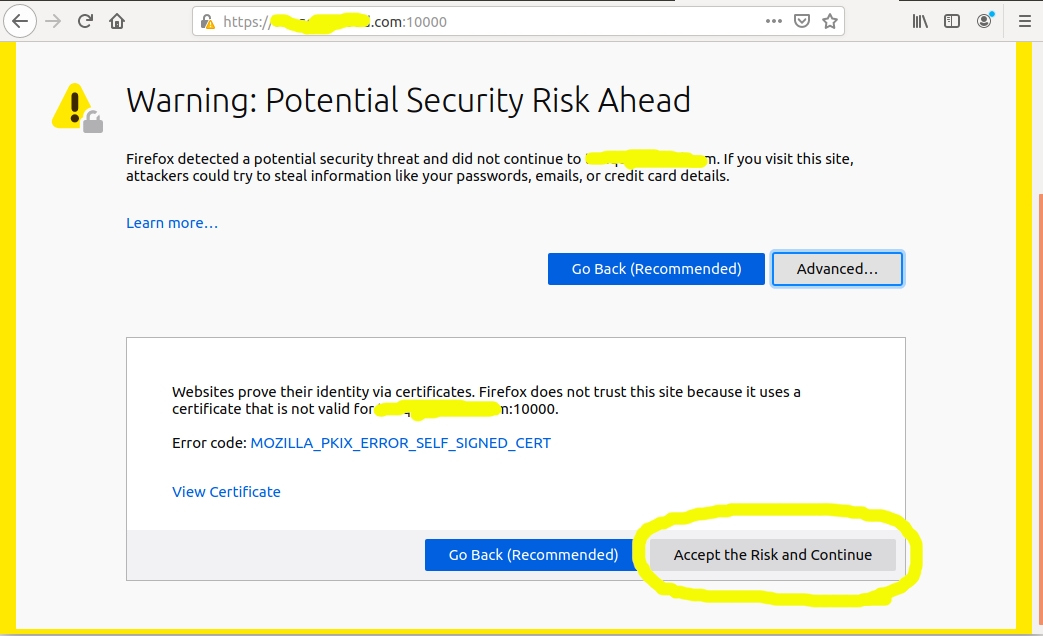
Accept the risk and continue to access Webmin as shown in Fig 2.
Fig 2
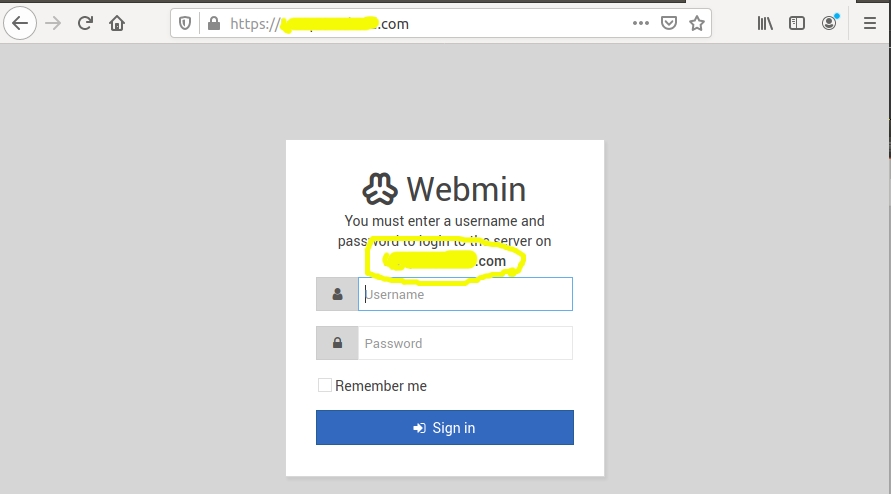
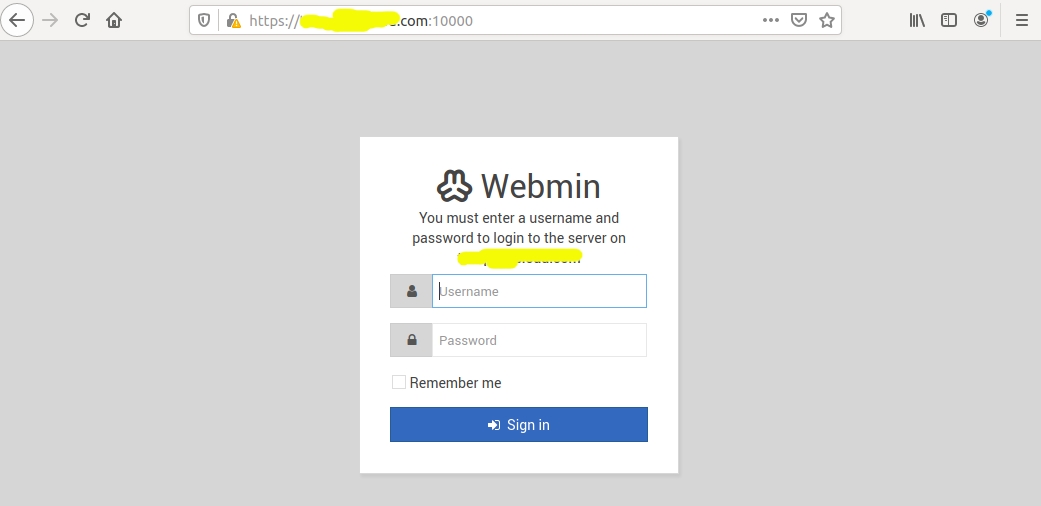
It will show the login screen as shown in Fig 3.
Fig 3
Now login to Webmin using your root or sudo user credentials. You can also change the root credentials for Webmin using the command as shown below.
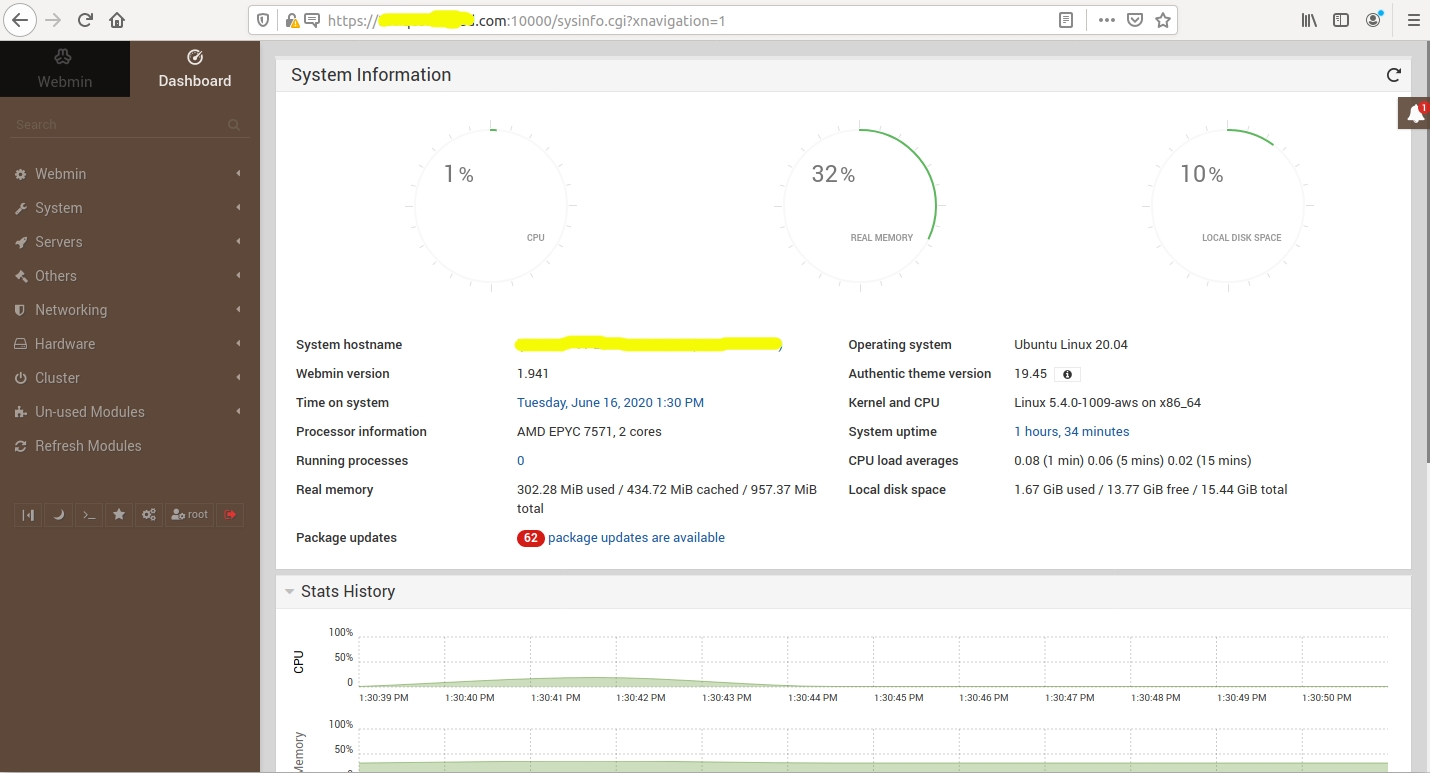
The above command will change the root user password for Webmin. Now login to your Webmin. It will show the dashboard as shown in Fig 4.
Fig 4
Reverse Proxy For Webmin - Primary Domain
We will access the Webmin by configuring reverse proxy on port 80/443 as a regular web app by configuring the webserver. This will avoid opening an additional port for Webmin i.e. 10000 and maintaining SSL certificate for Webmin. It can be done for the Nginx Web Server as shown below.
We also need to configure Webmin to accept connections from Nginx as shown below. Also, make sure to use the FQDN or the domain name used to access the website. We can configure Webmin for the primary domain as shown below.
Now we can access Webmin using the primary domain by redirecting to https://www.example.com. It will show the login screen as shown below.
Fig 5
Reverse Proxy For Webmin - Subdomain
We must update the SSL certificate in order to support the subdomain. It can be done using the command as shown below. Let's Encrypt allows up to 100 domains for a single SSL certificate.
We can configure the Nginx server to access the Webmin over a subdomain similar to how we did for the primary domain by adding appropriate server blocks for the subdomain. In this way, we can access the website over the main domain and access the Webmin over a subdomain.
We also need to configure Webmin to accept connections from Nginx as shown below. We can configure Webmin for the subdomain as shown below.
Now we can access Webmin using the subdomain by redirecting to https://sub1.example.com.
Reverse Proxy For Webmin - Subdirectory
We can configure the Nginx server to access the Webmin over the subdirectory. In this way, we can access the website over the main domain and access the Webmin over the sub URL. It can be done for the Nginx Web Server as shown below.
We also need to configure Webmin to accept connections from Nginx as shown below. We can configure Webmin for the subdirectory as shown below.
Now we can access Webmin using the subdirectory by redirecting to https://www.example.com/webmin/.
Summary
This tutorial provided the steps required to install and secure Webmin and access it over the primary domain, subdomain, and subdirectory by configuring the Nginx Web Server as a reverse proxy.
Last updated
